
Wednesday, August 20, 2014

Tuesday, August 19, 2014
Online shop!
So it's been a month and I'm back home.
I always thought I would write a very-very long post about my experiences of living in and traveling around Florence, but that's going to take some time.
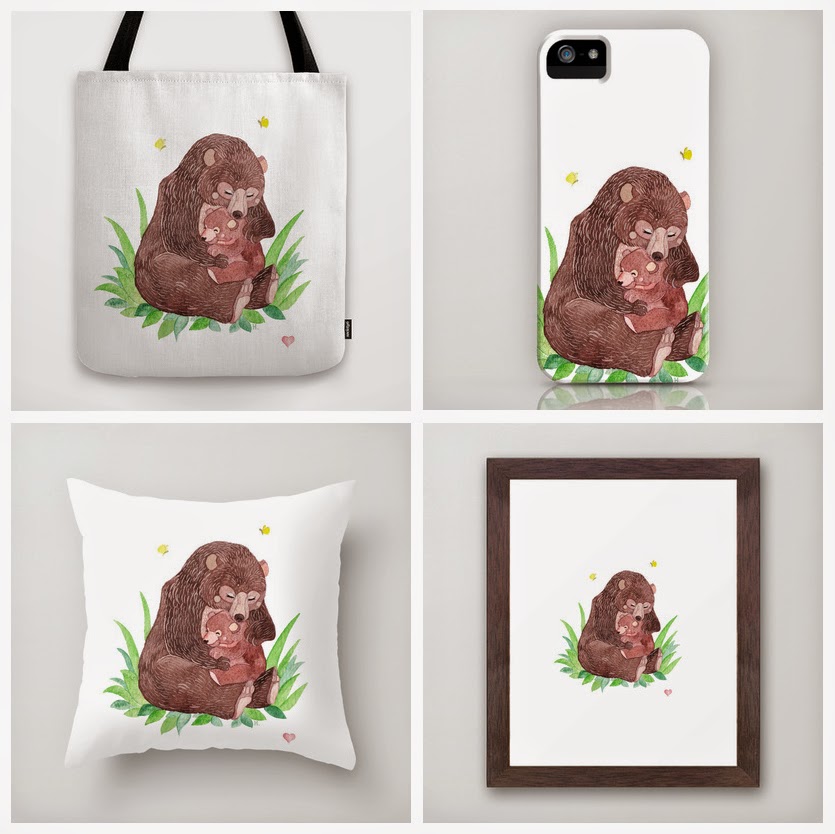
At the moment I'm pretty excited to share with y'all my online shop on society6! I have uploaded only one illustration and I do plan to create more illustrations and drawings for the store.
Here is the link:

Prints and things~
Thursday, May 22, 2014
Lorenzo
Lorenzo~ Portrait in Sepia.
6 days pose.

~: detail :~

Finito! So the portrait of Chiara is finally finished :)
I always spelt her name as Kiara, but it is an Italian name, so 'Ch' is basically the 'K'. Also, roll the letter R as 'arr' to make it sound really Italian. (kee-aarrah) I'm gradually beginning to love this language :D
Okay, so now that I can't work on it anymore and I have time to look at the picture, I see how I completely forgot to work on the ear! It looks so weird now. I was planning to work on it at the end, but got carried away with the primary details(eyes, nose, mouth). Something to keep in mind, for the next portrait!


Thursday, May 8, 2014
Some more portraits
I'm quite excited about the portrait painting that we've started. It's my first portrait painting in color. Took some pictures as I was doing it, so here are the initial stages:

In the afternoon, we do the drawing in studio light. This time we could use a soft medium for drawing and I used a sepia stick for this one. Was quite difficult initially, it's my first attempt at using a soft medium. but I really like the dreamy mood it can create. Need to practice a lot with the medium though!

Better pictures soon!
Saturday, April 12, 2014
Portrait in grisaille


So we finished the portrait in grisaille this week. 8 sittings, study from life.
Wednesday, April 9, 2014
Another portrait
Portrait study of Catherine.


A very smiling, pleasant girl with innocent face. Really enjoyed drawing this one. There were many light sources and hence the shadows are not very strong. Learnt about reflex, and about tangibility of different textures. The shades/tone is created using mesh of hatching lines, but they look blurry here. I've no idea why.
Sunday, April 6, 2014
Grisaille study

This is the grisaille study that we did before starting a grisaille portrait last week. Grisaille refers to a painting done in a monochrome palette that can serve as a base for color application. The purpose was of grisaille study is to understand composition, form-(modeling of each object separately) and value(showing the transitions and shadows in great detail, establishing the darkest darks and lightest lights for the final work) ~ but all this with limited colors. For this one, I've used raw umber and white, a little bit of burnt umber and black. It is unfinished, but it did help me understand the play of contrast and difference of edges(sharp/blurry) to create depth and show objects that are closer/ farther away.
There are many monochrome painting styles, including grissaile(French) and Verdaccio(Italian). Old masters always did a detailed grisaille study before starting to paint, to be sure of the values and composition. It is a stepping stone towards the finished oil painting. One can add layers of relevant value of hue(glazing) to create a full color believable painting with correct values underneath.
Grisaille is based on neutral and warmish gray tones. And Verdaccio is based on cooler grayish green tones. Some believe that verdaccio method can really enhance skin tones to create high realism because of its greenish underpainting(as green is complementary color for the skin. I read somewhere that when you paint with complementary color for your underpainting, it makes the final work more believable.)
Another method that we used here at school is by underpainting in the same colors that we plan to use in the final painting. (It is like creating campitura with different colors) And thus, the first layers of paint laid down serves as a basis for applying the subsequent layers to achieve likeness.
Here is the portrait in Grisaille I am working on; using raw umber, and a tiny bit of burnt sienna and white. 4 more days to work on this one.

I was reading about correcting and tone neutralizing for creating believable skin tones in painting, when I read about its use by makeup artists. It is really interesting to know how the same principles were used in the make up industry during the switch from black and white to color films. The makeup artists had to study all the principles of color and its behavior in different light(warm light/cool light) to do the color corrections while applying makeup. Back then, there was no technology to aid the artist. Only color theories to experiment with. So it was like applying right quantity of green shade(complementary of red), purple shade(complementary of yellow) so that it neutralizes the effect of red-yellow skin blemishes when captured by camera, with a certain light(warm/cool). Even the actors had to undergo several tests to make sure that the shades of green/purple looked correct for their skin color. That's the reason, they say makeup is an art-form, and it's interesting to know its history as to how it has evolved, even when there are so many options (concealers!) to aid makeup artists now.
Subscribe to:
Posts (Atom)